
Here is what I used:
- Canon 70D
- iPad
- App for transfering photos to Ipad
- PS Touch App (Photoshop) for iPad
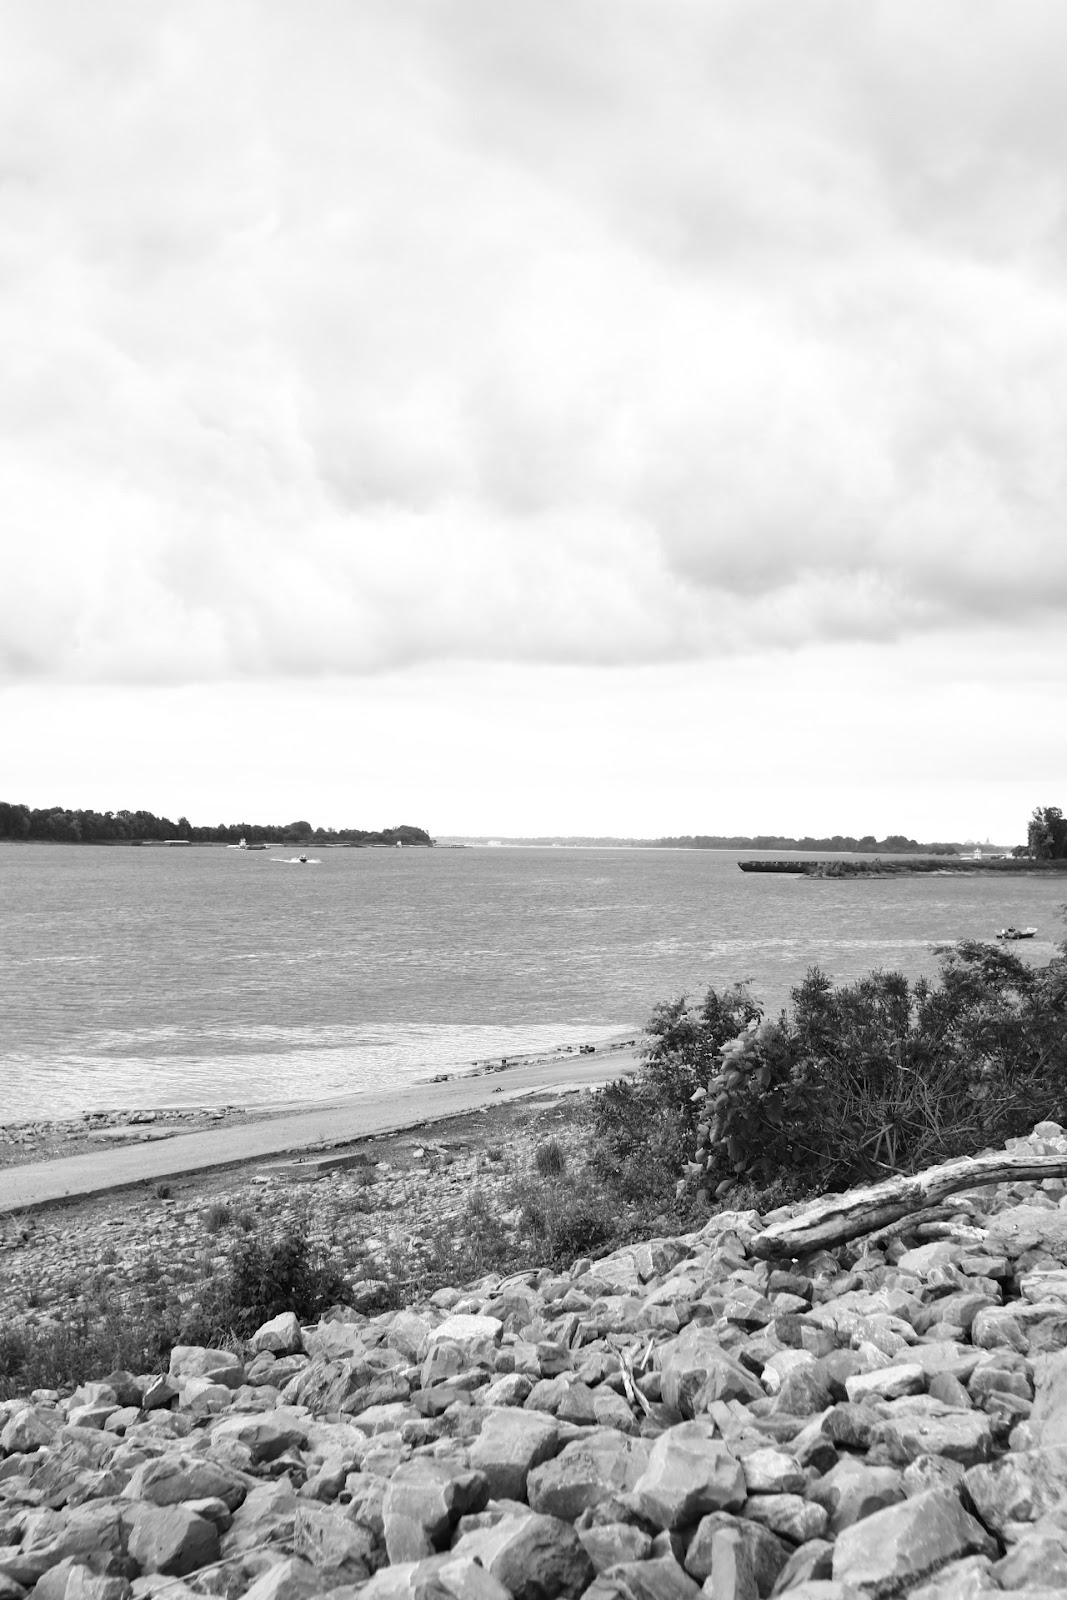
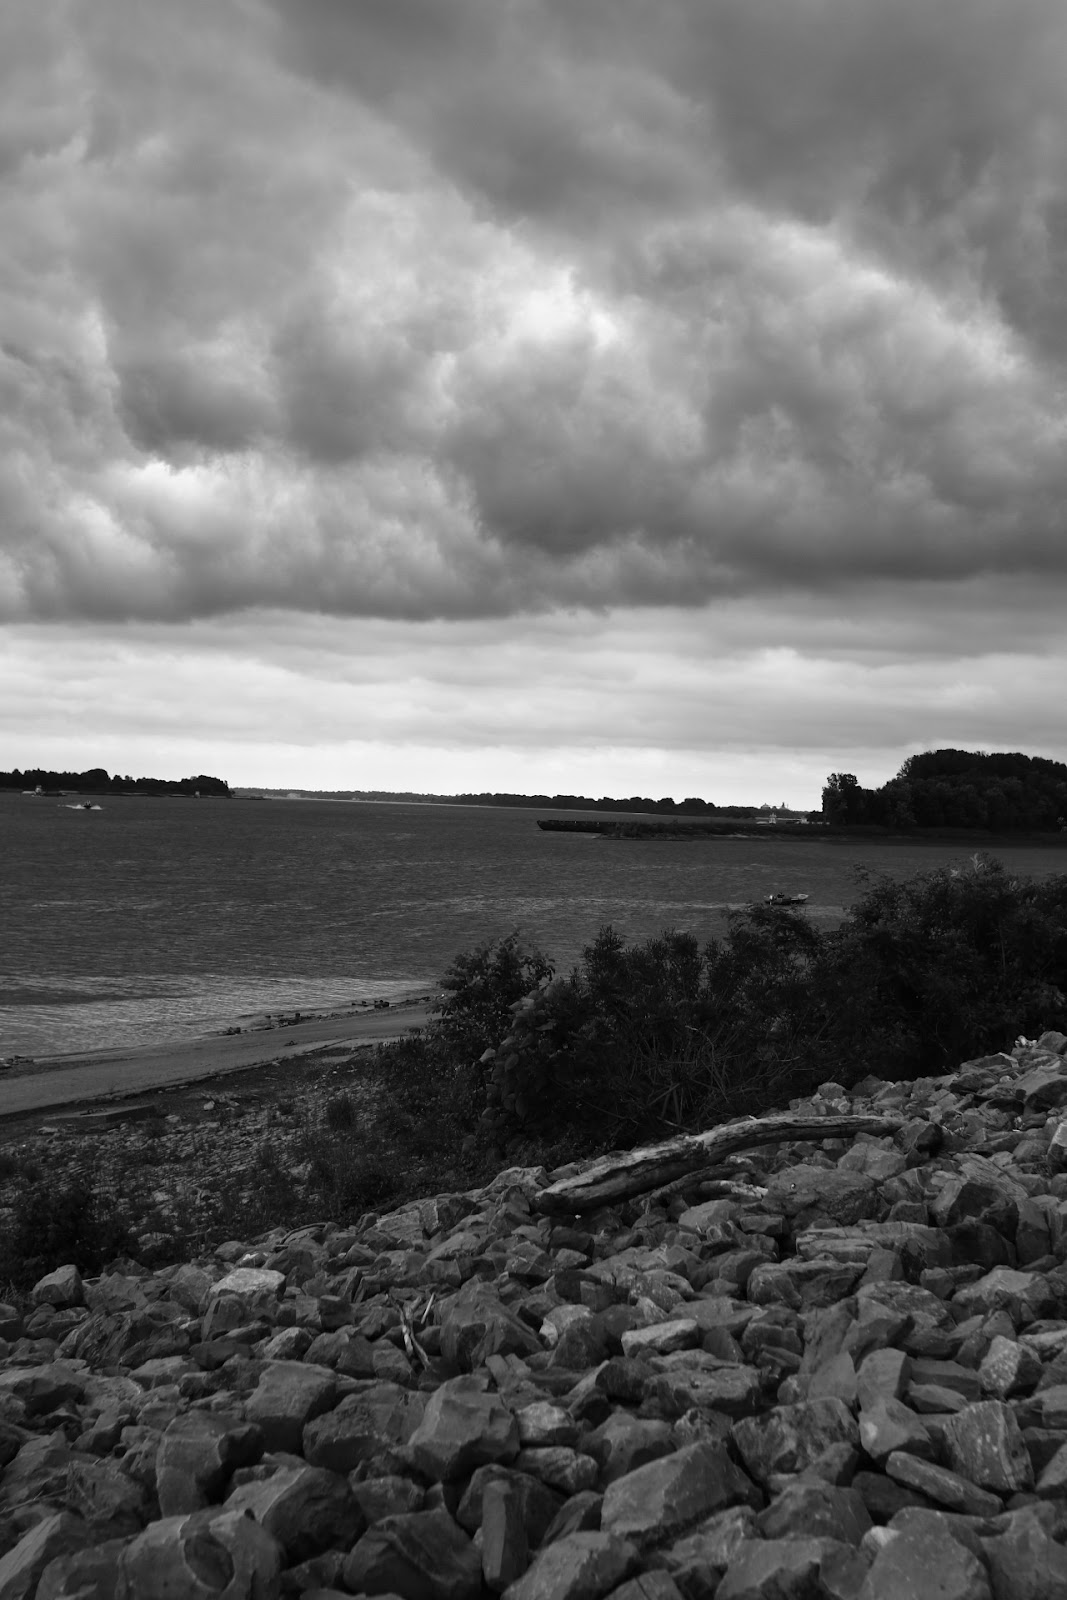
1. Take two photos, One exposed for the sky and the other exposed for the land. Trying to keep this as simple as possible for you. *Use a tripod if you do not have a steady hand.
2. Upload your images to your iPad using an app that works with your camera.
3. Open PS Touch and load your first photo.
4. At the bottom right of your screen tap the +, it will add another layer to your image.
5. It will then ask you to choose a layer. Select "Photo Layer"
6. Load your second photo and click the check mark. *No need to move the photo around and it is similar to the first photo.
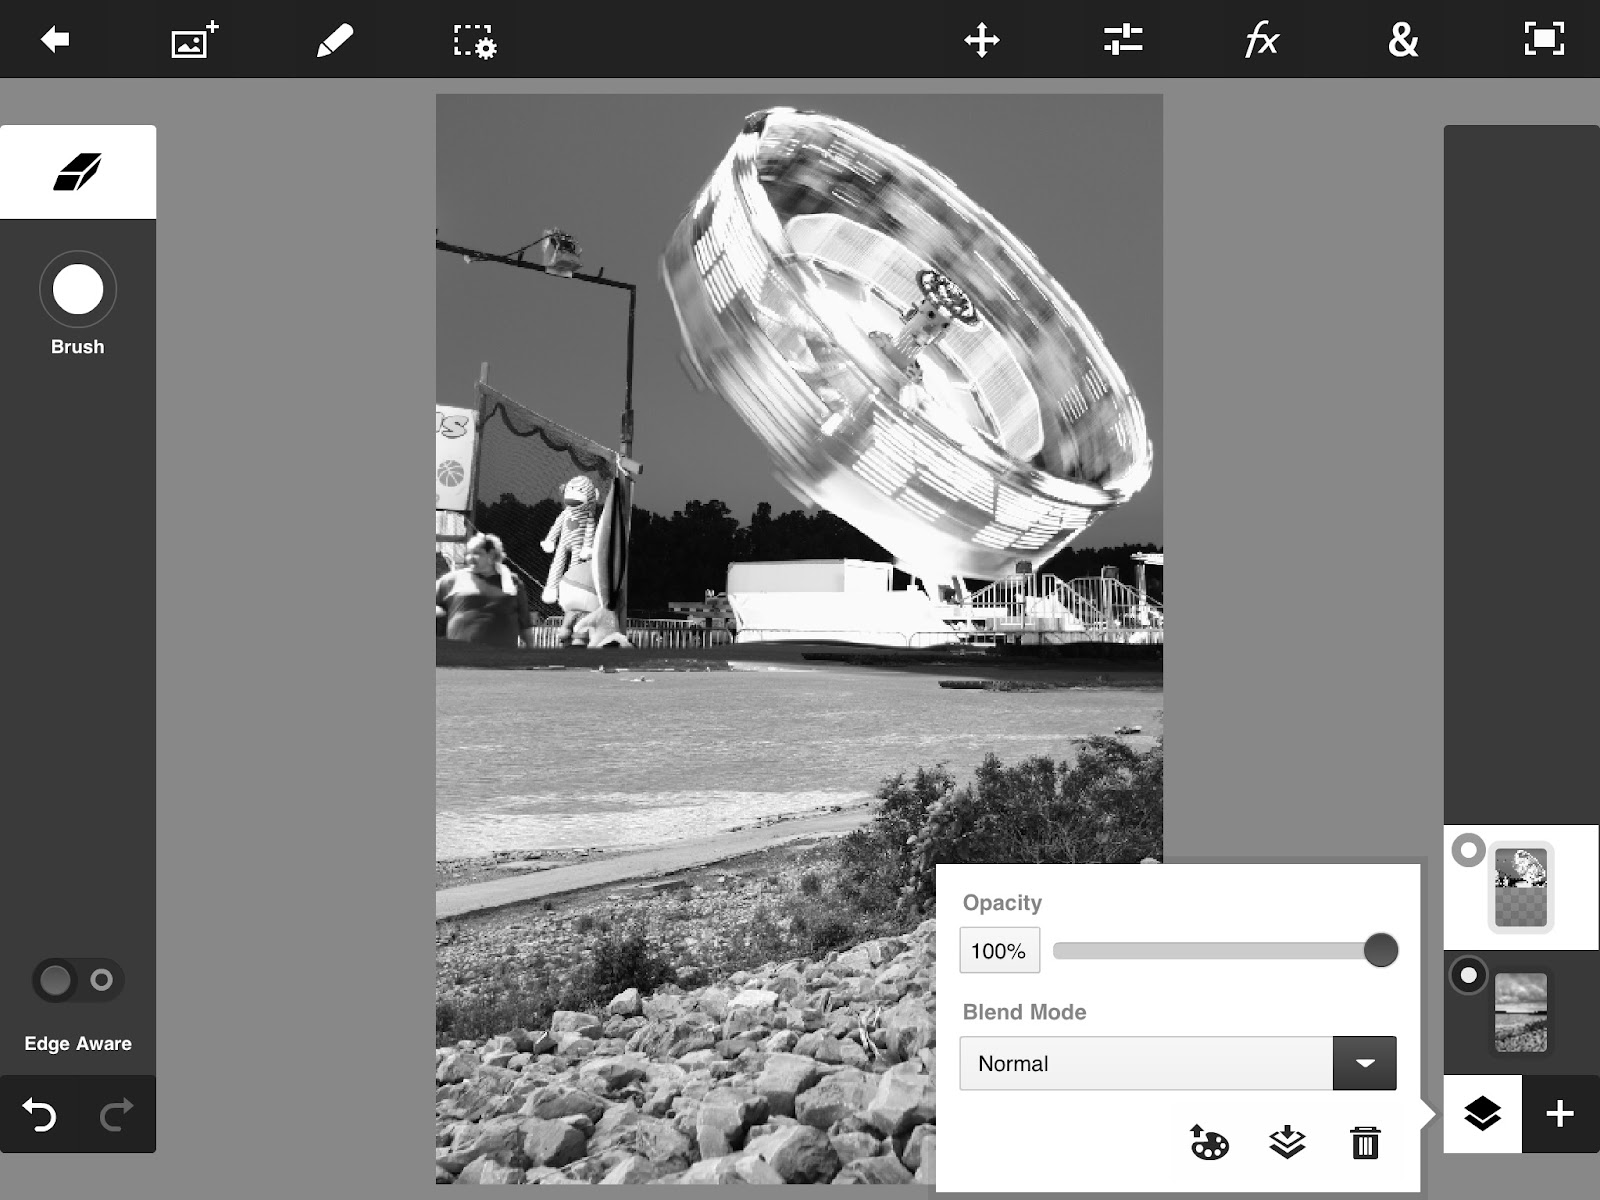
7. Here is where you can select the layer to erase on the lower right. Select the layer.
8. Next on the upper left hand side click the "Brush" and look make sure the opacity is set to 100.
9. Start with your finger to erase what you dont want in the photo and the other layer will appear.
10. Finally you will want to combine the layers when you are finished. On the lower right hand side click the tow squares on top of each other and it will bring up a menu. Click the next two layered squares and it will ask you if you would like to flatten the image. Choose Flatten.
11. On the upper left hand side click the arrow to save your work.
Here is a screen shot *please note I used a different photo to show the layer difference:
Hope this helps with editing on the run :)
Cheers, Stacy M. Frett
The Photo Nerd Girl